How To
|
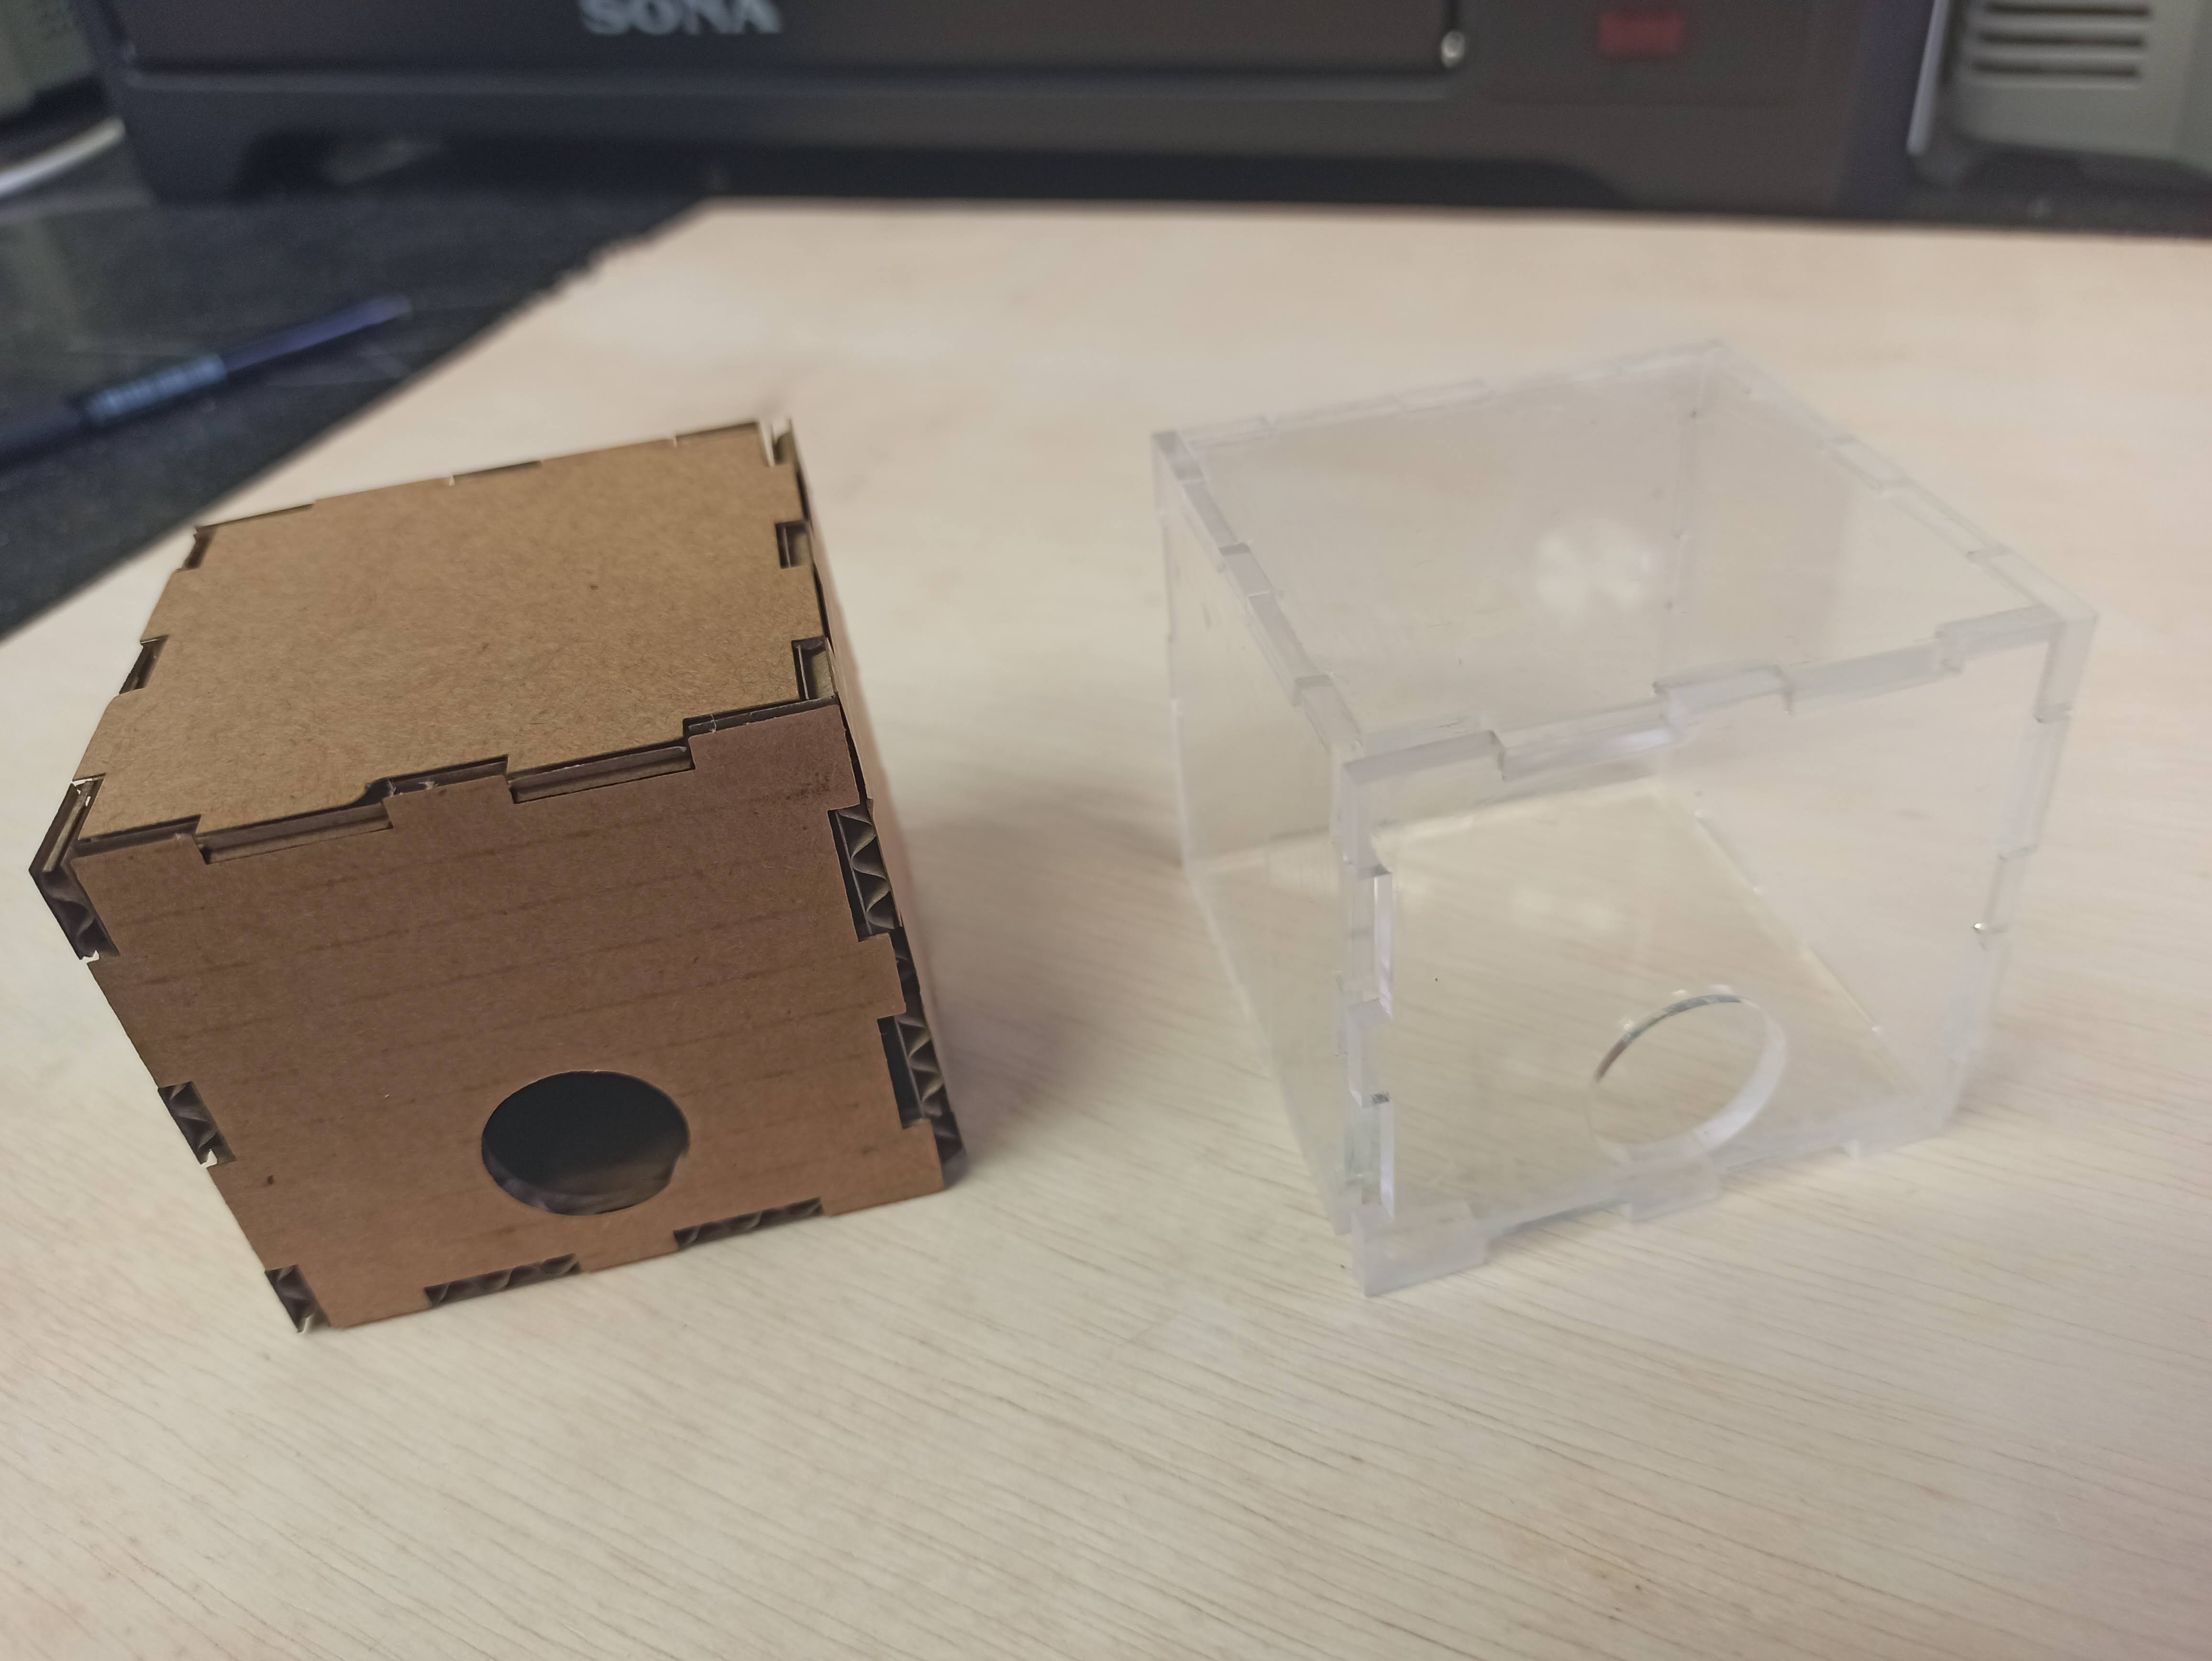
INSTRUCTIONSFirst, using the cube.dxf file included, laser cut out the faces of the cube using a sheet of acrylic glass 3mm thick. Assemble the cube and glue it together, except for the face with the hole in it. Next, assemble the circuit with the instructed componenets. Sound Sensor's OUT pin is connected to A3, while the legs of the RGB LED are connected as follows: R to D4, G to D8, B to D10. The remaining leg is to be connected to GND. Insert the circuit into the cube with the mini USB wire connected through the hole of the last cube face, before sealing said face to the rest of the cube. Connect the mini USB wire to your computer and start up Arduino IDE, running the code.txt file provided. Make sure that the "Tools" is set to Arduino Nano. |